I got the OK this morning from my customer and have grouted the mosaic. It took about an hour which includes the 10 minutes of letting the grout set up.
I got a little carried away with mixing too much this time, but since I normally have a mirror in the middle I wanted to be sure I had plenty. I guess too much is better than too little.
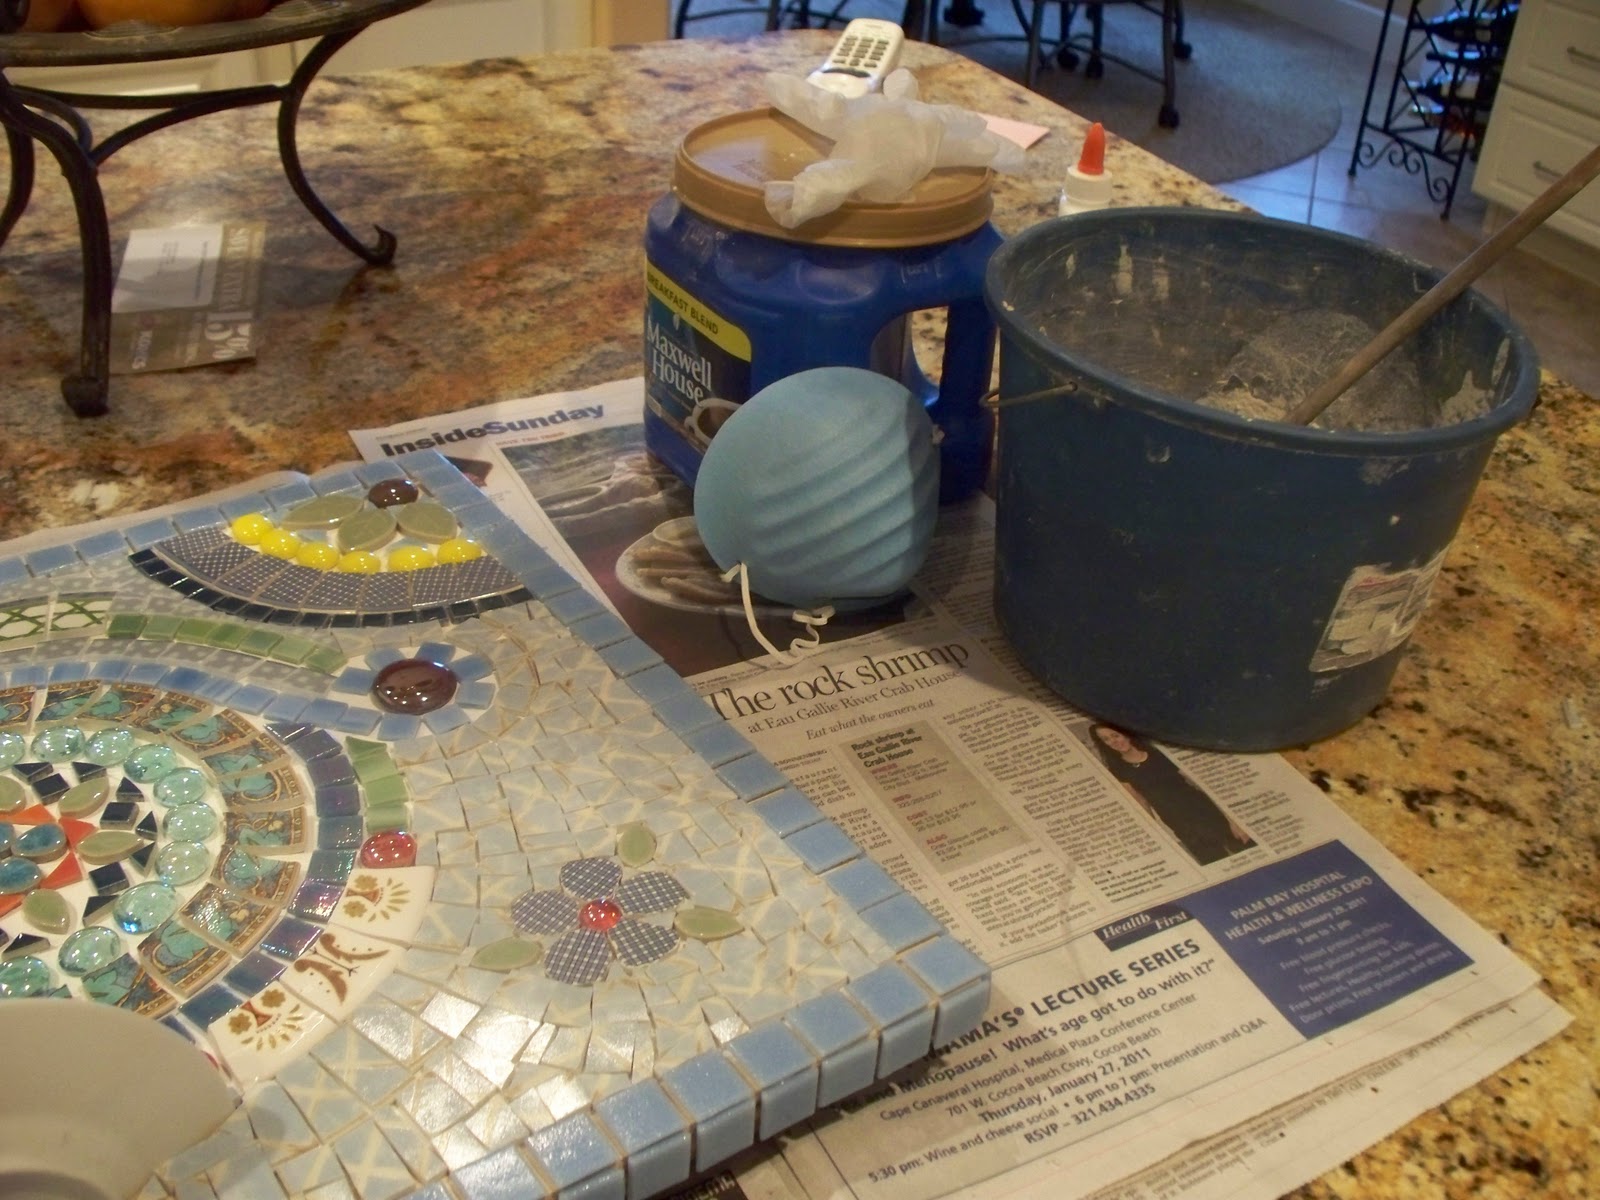 |
| My supplies gathered to grout. I always wear a mask but the gloves usually come off because they catch on the tile edges. |
 |
| My grout is mixed and I am waiting for 10 minutes for it to "set". It should be the consistency of a brownie mix. |
 |
| Photo just before I grout. |
 |
| This is how it looks once I finish getting the grout in all the crevices. I don't like to leave all of that on for too long as it just gets harder to remove it. |
 |
| This is how it looks after my first cleaning. There is still a lot of residue but the clumps are removed and I smooth out any lines created from the sponge. |
I try to keep my tiles thickness as consistent as possible when I make my pieces but sometimes the dish tiles are thicker than the glass tiles and the variance can cause a problem when grouting. To make the transition as smooth as possible I clean the bulk off of it right away.
Tomorrow will be the final post on making a custom mosaic. I will have a few photos of the finished piece.
Until Next Time. :)


No comments:
Post a Comment